The Ultimate Contractor’s Guide to Installing Dura Fence
When it comes to professional-grade fencing, Dura Fence stands out for its strength, longevity, and clean, modern appearance. Made from galvanized steel and designed for easy customization, Dura Fence panels are a smart choice for contractors looking to deliver lasting value to clients. Whether you’re installing for a residential, commercial, or industrial property, proper installation is key to long-term performance. This guide covers essential tips and techniques to ensure every Dura Fence project is completed efficiently and correctly.

Start with High-Quality Materials from Dura Fence Wholesale
Before installation begins, sourcing reliable materials is critical. Dura Fence Wholesale supplies everything contractors need: galvanized steel fence panels, posts, rails, and installation hardware. Their materials are engineered for Florida’s climate, offering rust resistance, structural integrity, and aesthetic versatility. With powder-coated options in black, bronze, white, and woodgrain finishes, Dura Fence systems suit a wide range of client preferences.
Site Preparation and Layout
Begin by marking the fence line, identifying post placements, and checking for underground utilities. Ensure the ground is level or note grade changes that may require step-down installation. Accurate measurements and layout help minimize waste and avoid costly adjustments later in the process.
Use string lines and stakes to define the perimeter clearly. Posts should be spaced according to the panel size, typically 8 feet apart, center to center. Verify spacing to ensure panels align perfectly with posts once installed.
Setting Posts
Post installation is the foundation of a successful fence build. Dura Fence posts—typically 2-1/2″ square galvanized steel—should be set in concrete for maximum stability. Dig holes at least 2 feet deep, depending on soil conditions, and ensure posts are level and plumb before pouring concrete.
Allow posts to cure for at least 24 hours before attaching rails and panels. For projects in high-wind zones or sandy soil, consider using deeper footings or additional reinforcement.
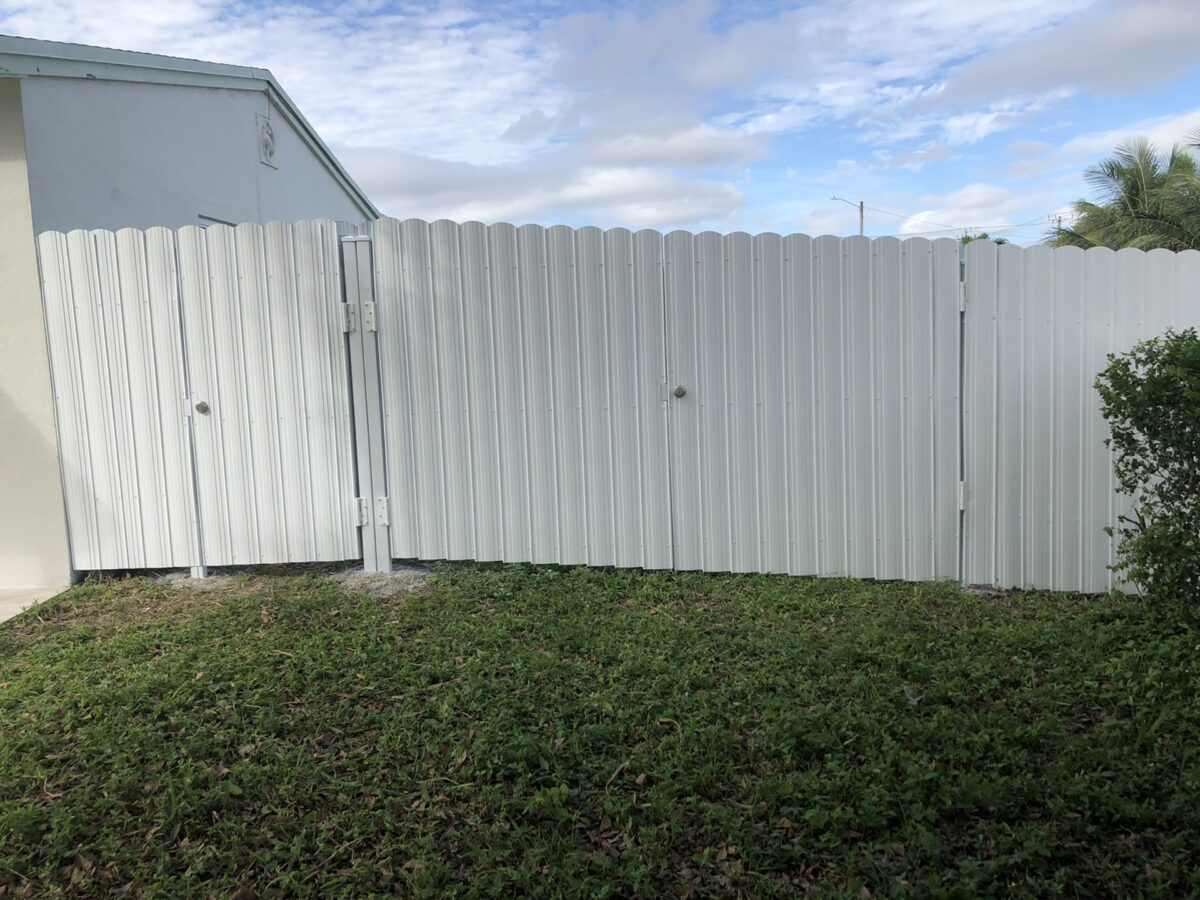
Attaching Rails and Panels
Once the posts are set, install the top and bottom rails using self-tapping screws or panel brackets, depending on your hardware package. Dura Fence panels are designed for easy insertion and alignment. The panels should slide into the rails snugly, creating a seamless look with no gaps.
Use a laser level or string to maintain consistent height and alignment across all sections. If installing on sloped terrain, the rackable design of some aluminum or steel panels can accommodate grade changes without sacrificing appearance or strength.
Finishing Touches and Quality Checks
Once the fence structure is complete, inspect for any sharp edges, misalignments, or loose fasteners. Caps can be added to posts for a finished, professional look. Dura Fence’s powder-coated finish helps reduce maintenance, but it’s still important to clean off installation residue or metal shavings that could affect the surface over time.
Encourage clients to periodically inspect their fence and rinse it with water to keep it looking sharp. Thanks to Dura Fence’s durability and rust resistance, little maintenance is required after installation.
Partner with Dura Fence Wholesale
Dura Fence Wholesale is more than a supplier—they’re a contractor’s trusted partner. With dependable delivery, premium-grade fencing materials, and expert support, they help ensure your projects run smoothly from start to finish. Whether you’re outfitting a single home or handling large-scale commercial jobs, their team understands the demands of the industry and provides materials that meet or exceed expectations.